Even though I’m a Software Developer who works with HTML, CSS, and JavaScript all day, about a month ago, I thought that it was way too hard to develop and implement a website. It turns out; it’s not.

According to their website, Gatsby is a free and open source framework based on React that helps developers build blazing fast websites and apps. Gatsby offers a variety of features out of the box — JAMstack, static PWA and much more. So, here we go.
Step 1: Sign up for Netlify
For developers, they need to sign in to Netlify using Github. If you do not have a Github account, you could create one in just a few minutes.
Step 2: Decide a starter template
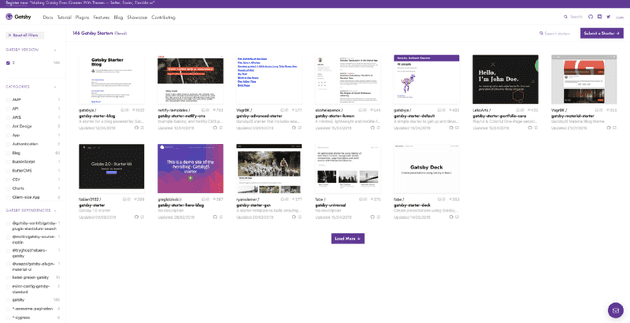
Decide upon a starter template. You can do that here. The community has put up a lot of starter templates. For our purpose, we’re going to use the Personal Blog starter by Greg Lobinski. This starter is by far the most extensively featured Gatsby Starter I could find. You can check out the features of this starter kit on the Github repo. There are many other starters to choose from that use Gatsby here.
Step 3: Clone or Download the starter template
You can either download the repository or use the starter template via the Gatsby CLI. Greg has already described these steps in his starter README.md.
Install the Gatsby CLI using this command:
npm install --global gatsby-cliDownload the starter kit using the Gatsby CLI:
mkdir personal-blog
gatsby new ./personal-blog https://github.com/greglobinski/gatsby-starter-personal-blog.git
Step 4: Run the application on your local machine
Just run the following command in your terminal to get your application to run on the local computer.
cd personal-blog
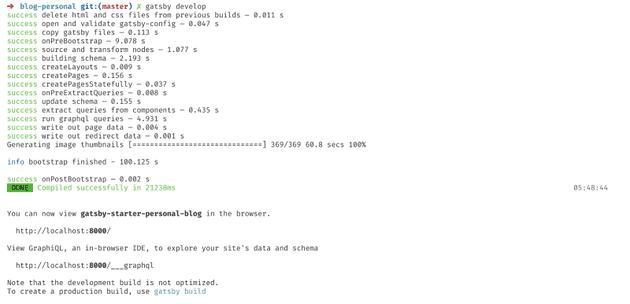
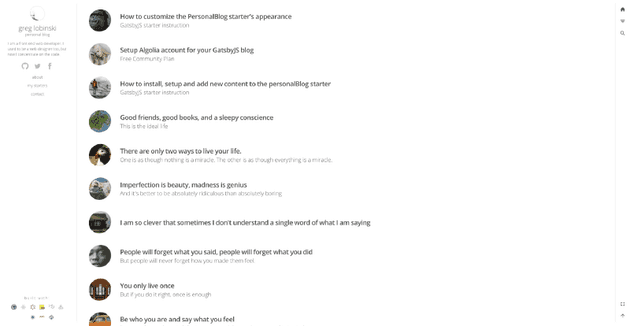
gatsby developIt should look something like this:
Step 5: Edit the content/meta/config.js file
This file contains information about, siteTitlesite, description and manifestName — the name of your installable PWA. You can also modify the social links in the file, describe the manifest information for your PWA.
Step 6: Add content using Markdown syntax
Now comes the critical part. Markdown syntax is super-easy to use. Here is the cheat-sheet for Markdown syntax. Greg Lobinski has described this step in detail in this blog article.
Add content in content/posts, content/pages, folders and in parts folder, the author.md, footnote.md, info.md files.
Make note that the folder structure should always be of the format
index--titlefor pages andyyyy-mm-dd--post-titlefor posts.
Delete the other example posts and pages you deem unnecessary, and you should be able to see the changes in the application on your machine. In case you don’t, shut down the app from the terminal by using Ctrl + c and restart by running gatsby develop.
Step 7: Build the static website
Before you build, you’ll need to configure a .env file in your project’s root directory. The application will not work until you set Algolia. Greg Lobinski has described the steps to do so in this article.
Build your application using the following command:
gatsby buildThe above command will create folders and files in thepublic directory inside your project’s root directory.
Step 8: Deploy to Netlify
Go to Netlify, and after login, you should see a screen like:
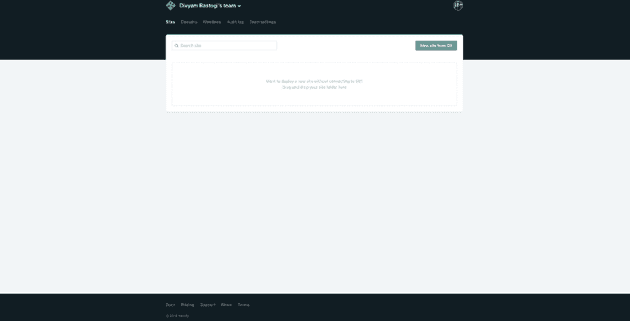
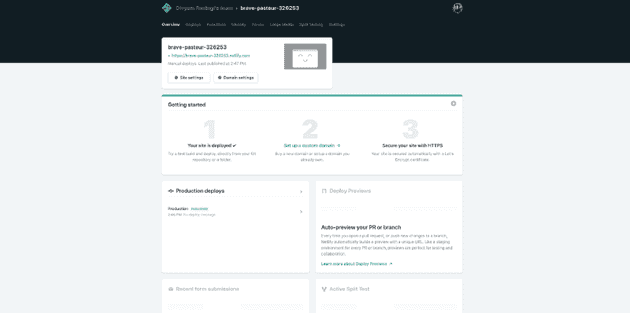
Just drag and drop your public folder on to the droppable area and it will deploy the website. You will be able to see the app on Netlify’s subdomain.
You can configure HTTPS and many other features on Netlify. Please keep an eye on this space for further optimizations.
